🔧 Fix-It Guide · free checks first
Remote Works but Wall Button Doesn't — Why?
Honest diagnosis, free checks first, and a straight answer about when it's a pro job. No teaser fees, no scare tactics — that's the whole point of this site.
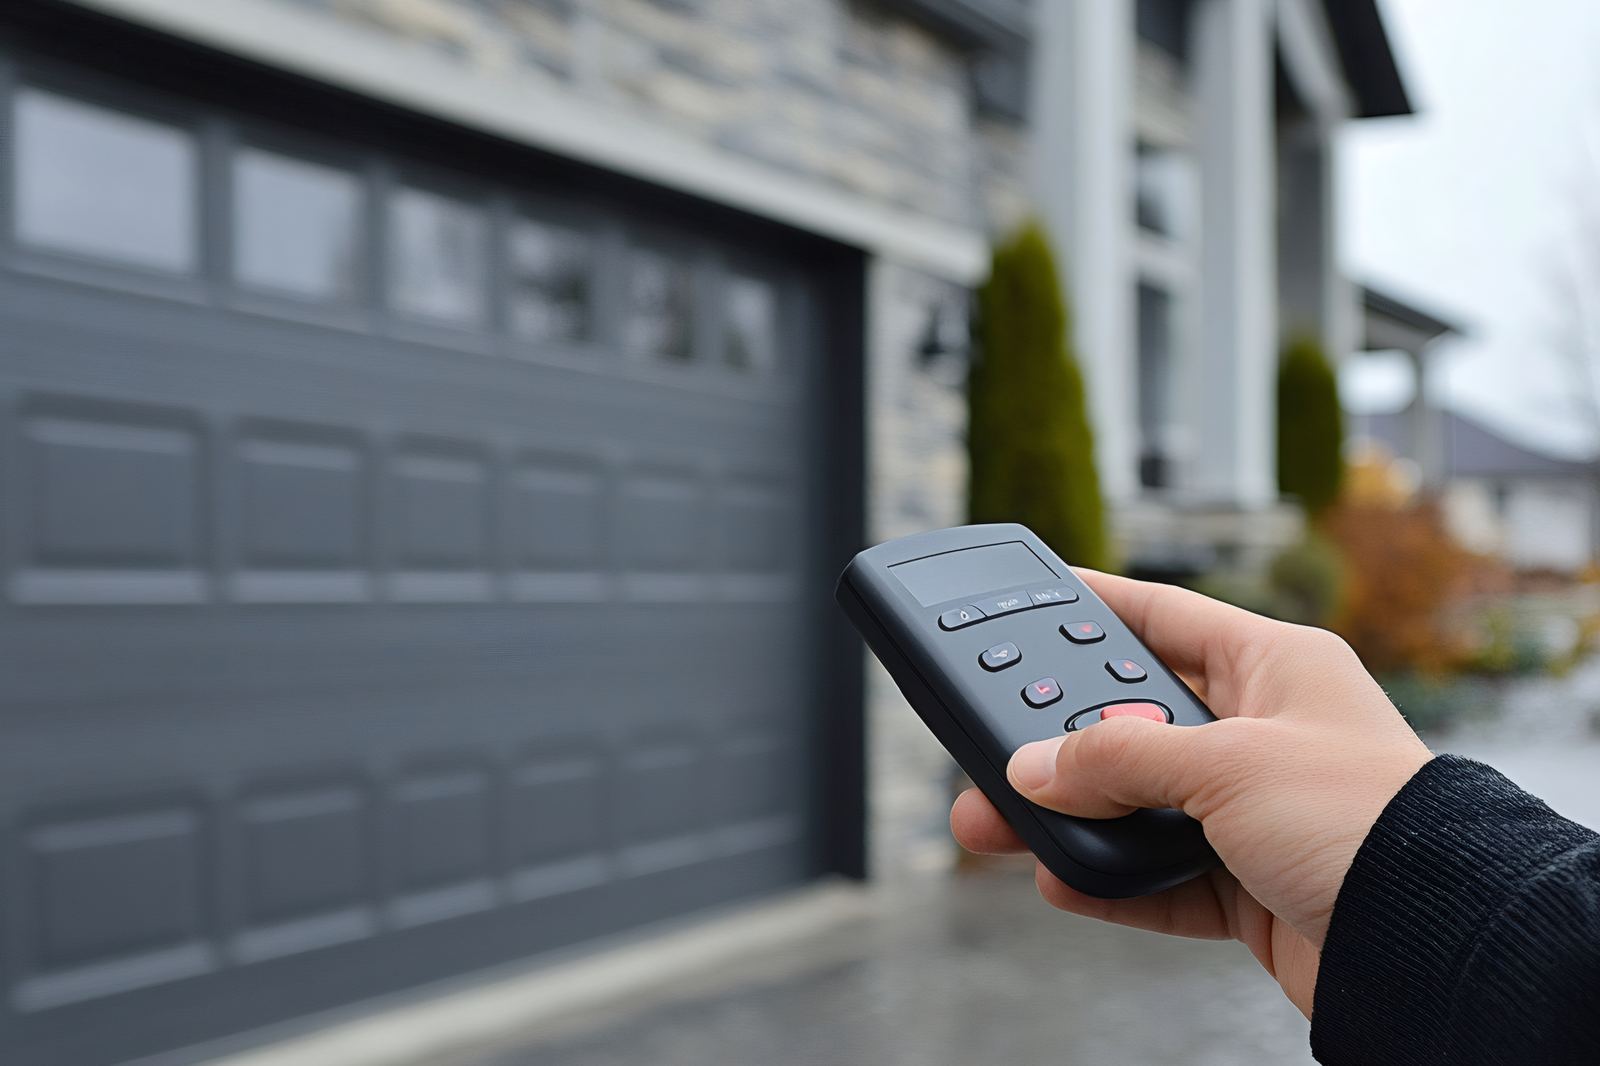
Honest diagnosis, free checks first, and a straight answer about when it's a pro job. No teaser fees, no scare tactics — that's the whole point of this site.
Try holding the button firmly for two seconds, then try several quick presses. Intermittent internal contacts often respond to one style and not the other. If the door responds erratically to this, the button's switch contacts are worn and the button needs replacement — cheap and simple. If there is no response at all, proceed to the jumper test.
Unscrew the wall button, disconnect the two low-voltage wires from its terminals, and briefly touch the bare ends together. The circuit carries only a few volts, similar to a doorbell. If the door runs, the button is bad; replace it. If nothing happens, the fault lies in the wire or at the opener end.
At the motor head, locate the two wall-control screw terminals (your manual identifies them), remove the wires, and briefly short the two terminals with a screwdriver blade. If the door runs, the opener is fine and the wire run between opener and button is broken. If the door does nothing, the opener's control input has failed — technician territory.
Follow the bell wire from the button up the wall and across the ceiling to the opener. Look for staples that bite the wire, nicks near recent projects, pinches behind shelf brackets, chew marks, and loose connections at both ends. Wiggle suspect sections while a helper watches the opener — an intermittent response pinpoints the break.
Understanding the circuit makes this an easy diagnosis. A basic wall button is just a momentary switch on a two-conductor, low-voltage line — the same bell wire used for doorbells — running from the button to two screw terminals on the back of the opener. Press the button, the circuit closes, the opener runs. There is no radio involved, which is exactly why a dead wall button with working remotes cleanly splits the problem: the opener's logic, motor, and receiver are all proven healthy by every remote press, leaving only the button, the wire, and the two terminal connections as suspects. Multifunction consoles — the larger panels with a light button and lock button — add a bit of electronics and, on some newer LiftMaster and Chamberlain systems, digital communication over the same wires, but the topology is identical. Because the wire carries only a few volts, you can troubleshoot the whole run safely with your fingers and a screwdriver, no electrician required.
The jumper test settles it in two minutes. Remove the wall button from the wall — usually two screws — and disconnect the two low-voltage wires from its rear terminals. Touch the two bare wire ends together for a second. If the door runs, the wiring and the opener are fine and the button itself has failed; replacements are inexpensive, widely stocked, and install with two screws and two wire connections. If the door does nothing, move to the opener end: at the motor head, find the same pair of terminals (marked for the wall control in your manual), remove the wires, and short those two terminals briefly with a screwdriver blade. Door runs? Then the opener is fine and the wire between button and opener is broken or shorted somewhere along its run. Door still does nothing from the opener terminals? Now the fault is inside the opener itself — a failed terminal or board input — and that is a technician conversation. One caution: match replacement consoles to your opener brand and generation, because newer digital wall controls and older analog ones are not interchangeable.
Buttons lead hard lives. The most common quiet killer is corrosion or wear inside the switch: decades of presses, garage humidity, and temperature swings oxidize the contacts until one day the press stops registering — often intermittently first, which is why the button that needed two or three pushes last winter is fully dead now. Second is wire damage that finally matters: bell wire stapled along studs and ceiling joists gets nicked during other projects, pinched by a new shelf bracket, chewed by rodents, or stressed at a sharp bend until the conductor breaks inside intact insulation, where you cannot see it. Third is the connection points — a wire that slipped its screw terminal at either end, sometimes from nothing more than vibration. Fourth, on multifunction consoles, the console's small circuit board can fail independently of the button. And occasionally the culprit is a recent change: a power surge, a new LED fixture wired nearby, or a staple from last weekend's insulation project going through the wire. Recent-change clues shorten the hunt considerably.
This question comes up constantly, and the answer is reassuring: no. The lock or vacation feature on multifunction wall consoles works in the other direction — it disables the remotes while the wall button keeps working, the logic being that a burglar with a stolen or code-grabbed remote is the threat, not someone standing inside your garage. So if your wall button is dead, the lock feature is not the explanation, and you can stop hunting through settings. That said, there is one adjacent gotcha worth knowing on multifunction consoles: if the console's slide switch or internal fault puts it in a strange state, or if an incompatible console was installed at some point (analog console on a digital opener or vice versa), individual functions can misbehave in confusing combinations — light button works but door button does not, for instance. If your console behaves inconsistently rather than being simply dead, mismatched or failing console electronics move to the top of the suspect list, and swapping in the correct-generation console is the fix.
Yes — this is one of the most DIY-friendly repairs in the entire garage-door world, because the control circuit is low-voltage and the parts are cheap. The process: unplug the opener for good measure, unscrew the old button from the wall, note which wire went to which terminal (photograph it), connect the wires to the new unit's terminals, screw it to the wall, plug the opener back in, and test. Two cautions keep it smooth. First, buy the right control: basic doorbell-style buttons are broadly compatible with older openers, but many newer LiftMaster, Chamberlain, and Genie openers require their own brand's digital wall console — check your opener's model number against the console packaging. Second, if the jumper test showed the wire itself is broken, replacement bell wire is inexpensive, but fishing it neatly along the ceiling and wall takes patience; running a fresh surface-mounted wire secured with insulated staples (not driven through the conductor — the classic self-inflicted wound) is perfectly acceptable and much easier than opening drywall.
Almost never — and this is worth saying plainly on a site that makes money when you call someone. A dead wall button with healthy remote operation is, statistically, a failed button or a damaged length of doorbell wire, both trivial and inexpensive. The opener's board, motor, travel system, and radio are all demonstrating their health every time a remote works. The exception worth knowing: if your jumper test at the opener's own terminals produces nothing, the wall-control input on the logic board has failed, and on an older opener that is a genuine decision point — board replacement on a unit past its expected life may not be worth it versus replacing the opener, especially if the opener predates the 1993 federal requirement for photo-eye entrapment protection, in which case replacement is the responsible recommendation anyway. But do the two-minute jumper test before anyone talks you into a new machine. The evidence it produces protects you from over-repair in either direction.
On many older openers, yes — the circuit is a simple momentary low-voltage switch, and a doorbell button works. But newer LiftMaster, Chamberlain, and Genie systems use digital wall consoles that communicate with the opener, and a plain switch will not work or will disable features. Match the console to your opener's model number before buying.
Intermittent operation points to worn switch contacts inside the button or a wire conductor broken inside its insulation that touches closed when temperature or vibration allows. Do the jumper test at the button: if bridging the wires works every time, replace the button; if the jumper is also intermittent, hunt the wire run for damage.
Partial function means the console and wiring have some life, so suspect the console's internal board or a console-to-opener compatibility mismatch rather than the wire. This happens when an older analog console is paired with a newer digital opener or vice versa. Replacing the console with the correct-generation part for your opener model usually resolves it.
No. Lock or vacation mode disables the radio remotes and outside keypad while deliberately leaving the wall button functional, so you can always operate the door from inside. If your wall button is dead, lock mode is not the cause — test the button and wiring instead. If remotes are dead but the wall button works, lock mode is the first thing to check.
Talk to a local garage-door pro now. Free to call, no obligation, honest answers — the way it should be.